All Grain Brewing – its so much easier and better than you think. With so many overblown treatises on the subject, here’s my personal summary.
First up – with all grain brews you can easily produce beer that tastes better than many of the pints you get served in pubs. For sure, when the commercial beer in question is at its best, new barrel, 4th pint in a row from the pump, etc. its possibly better – but so many times its not.
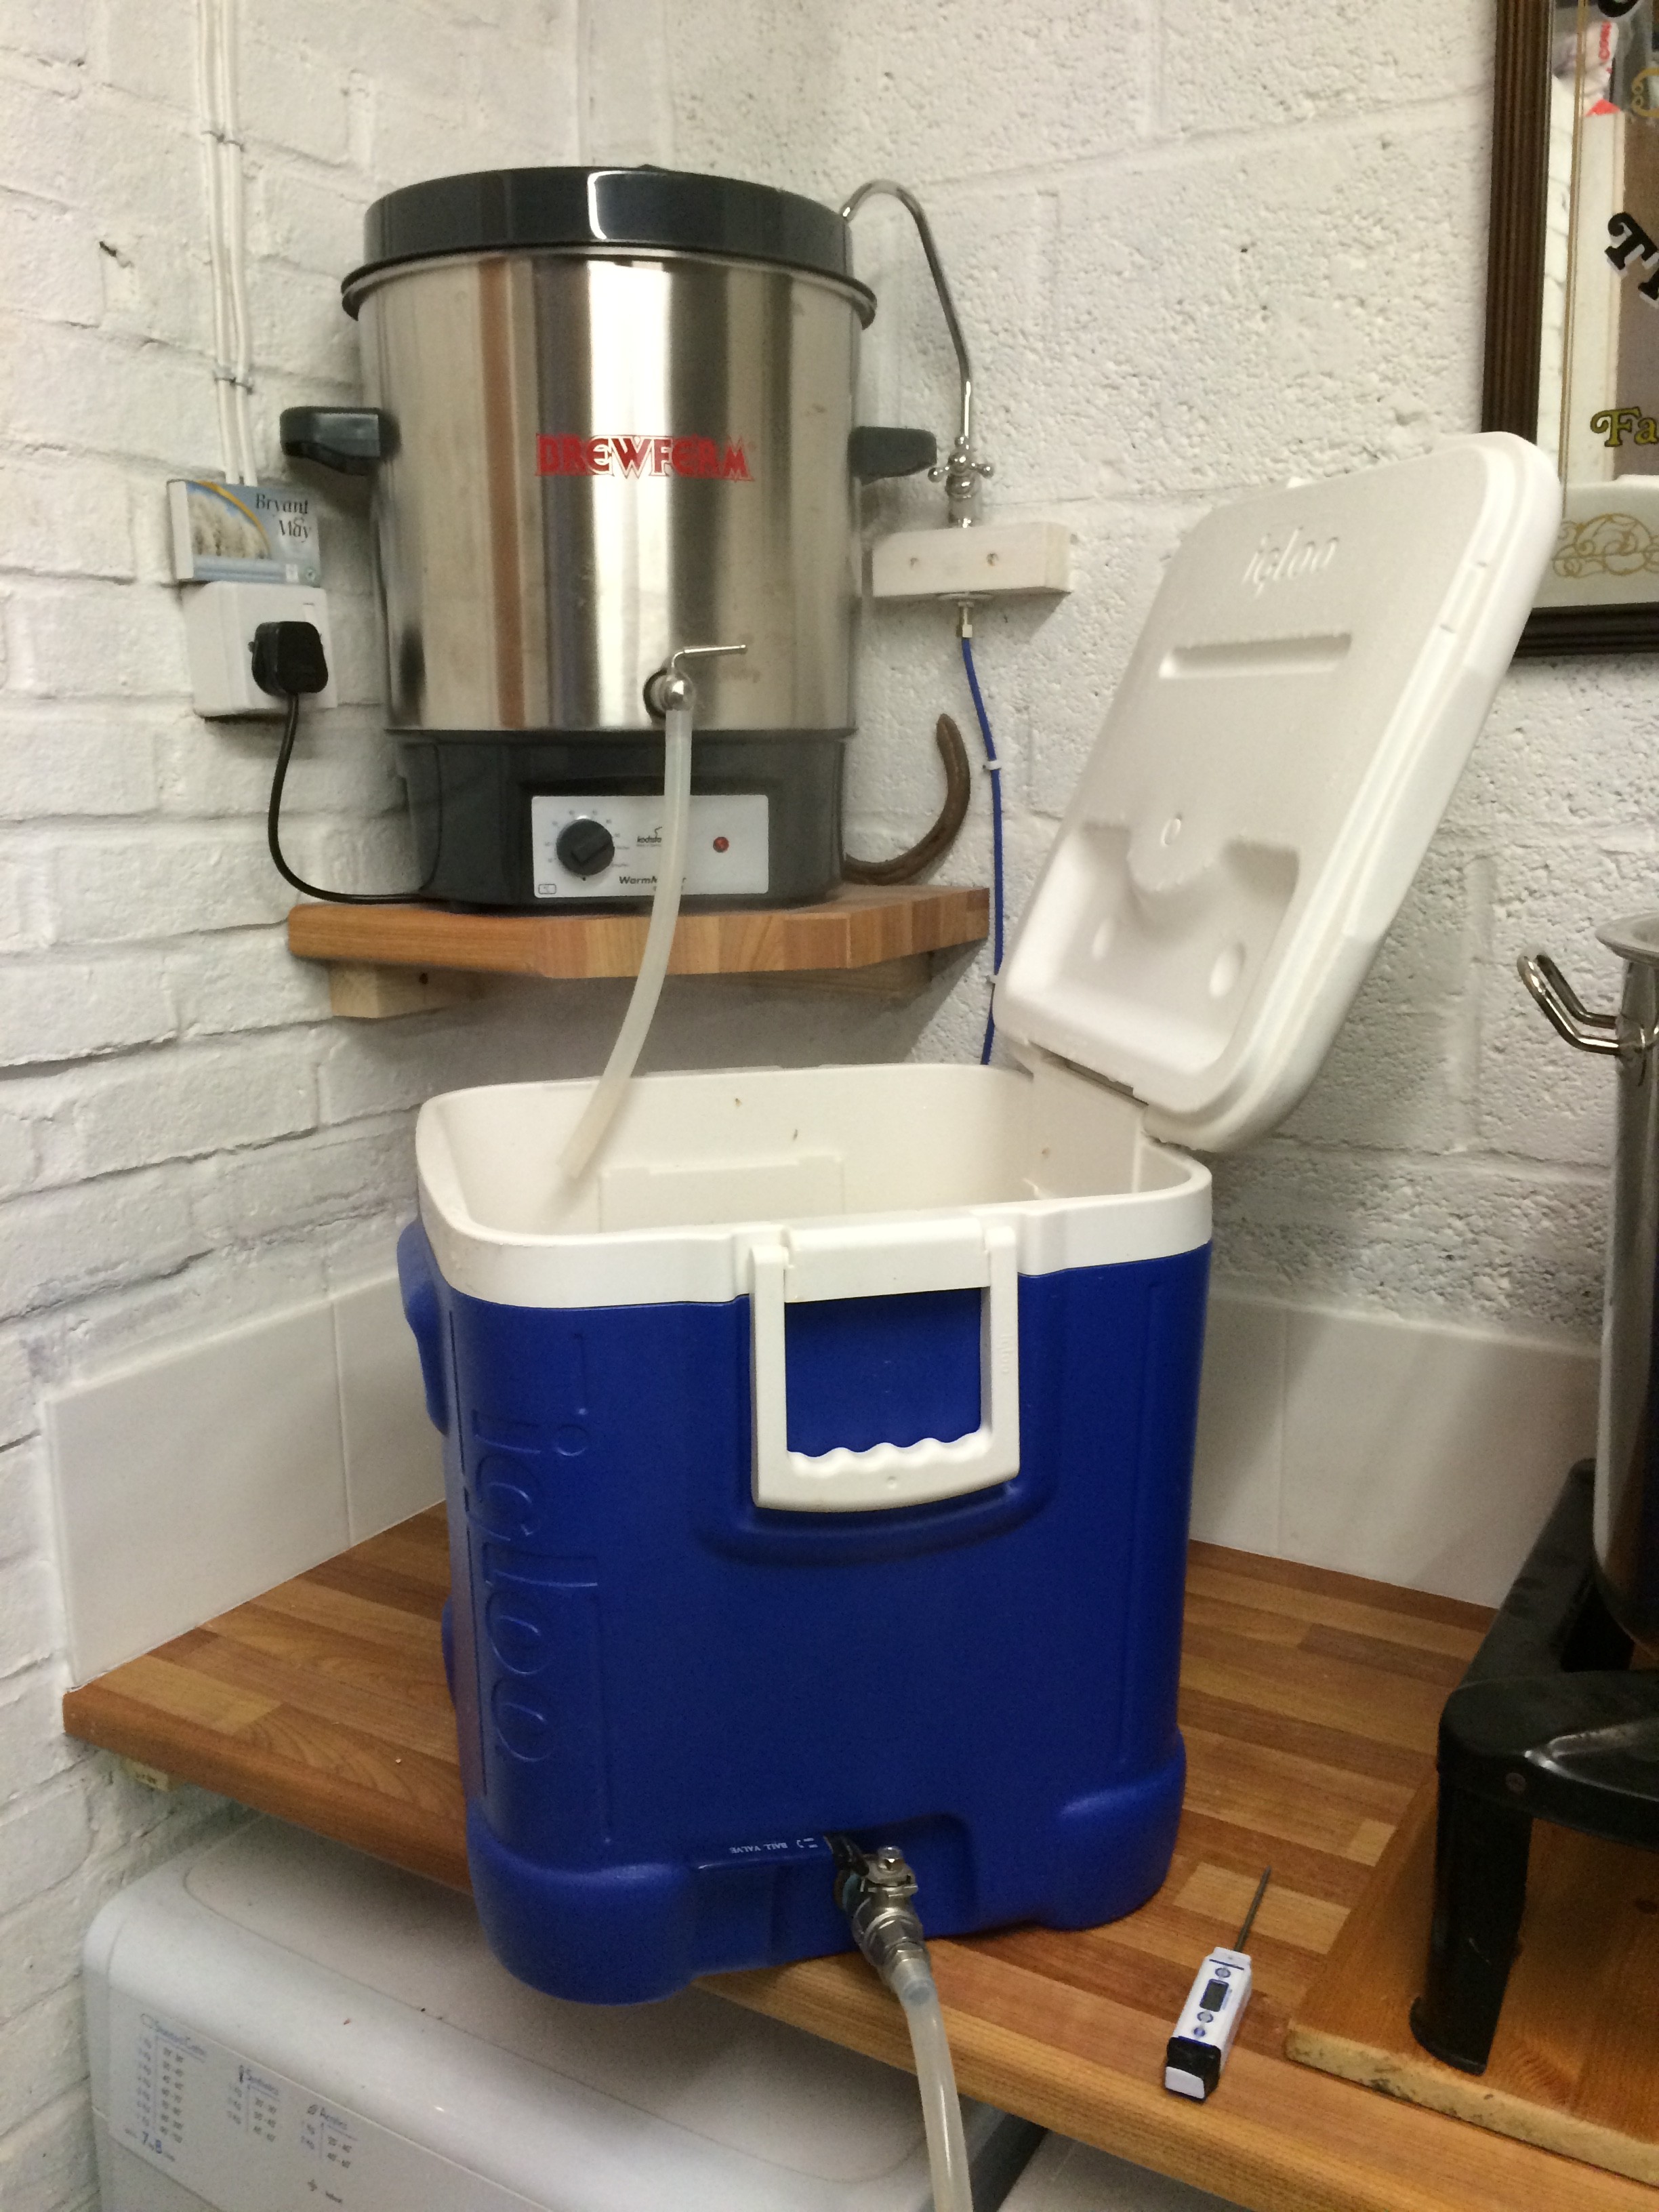
Here’s my brewing set up.
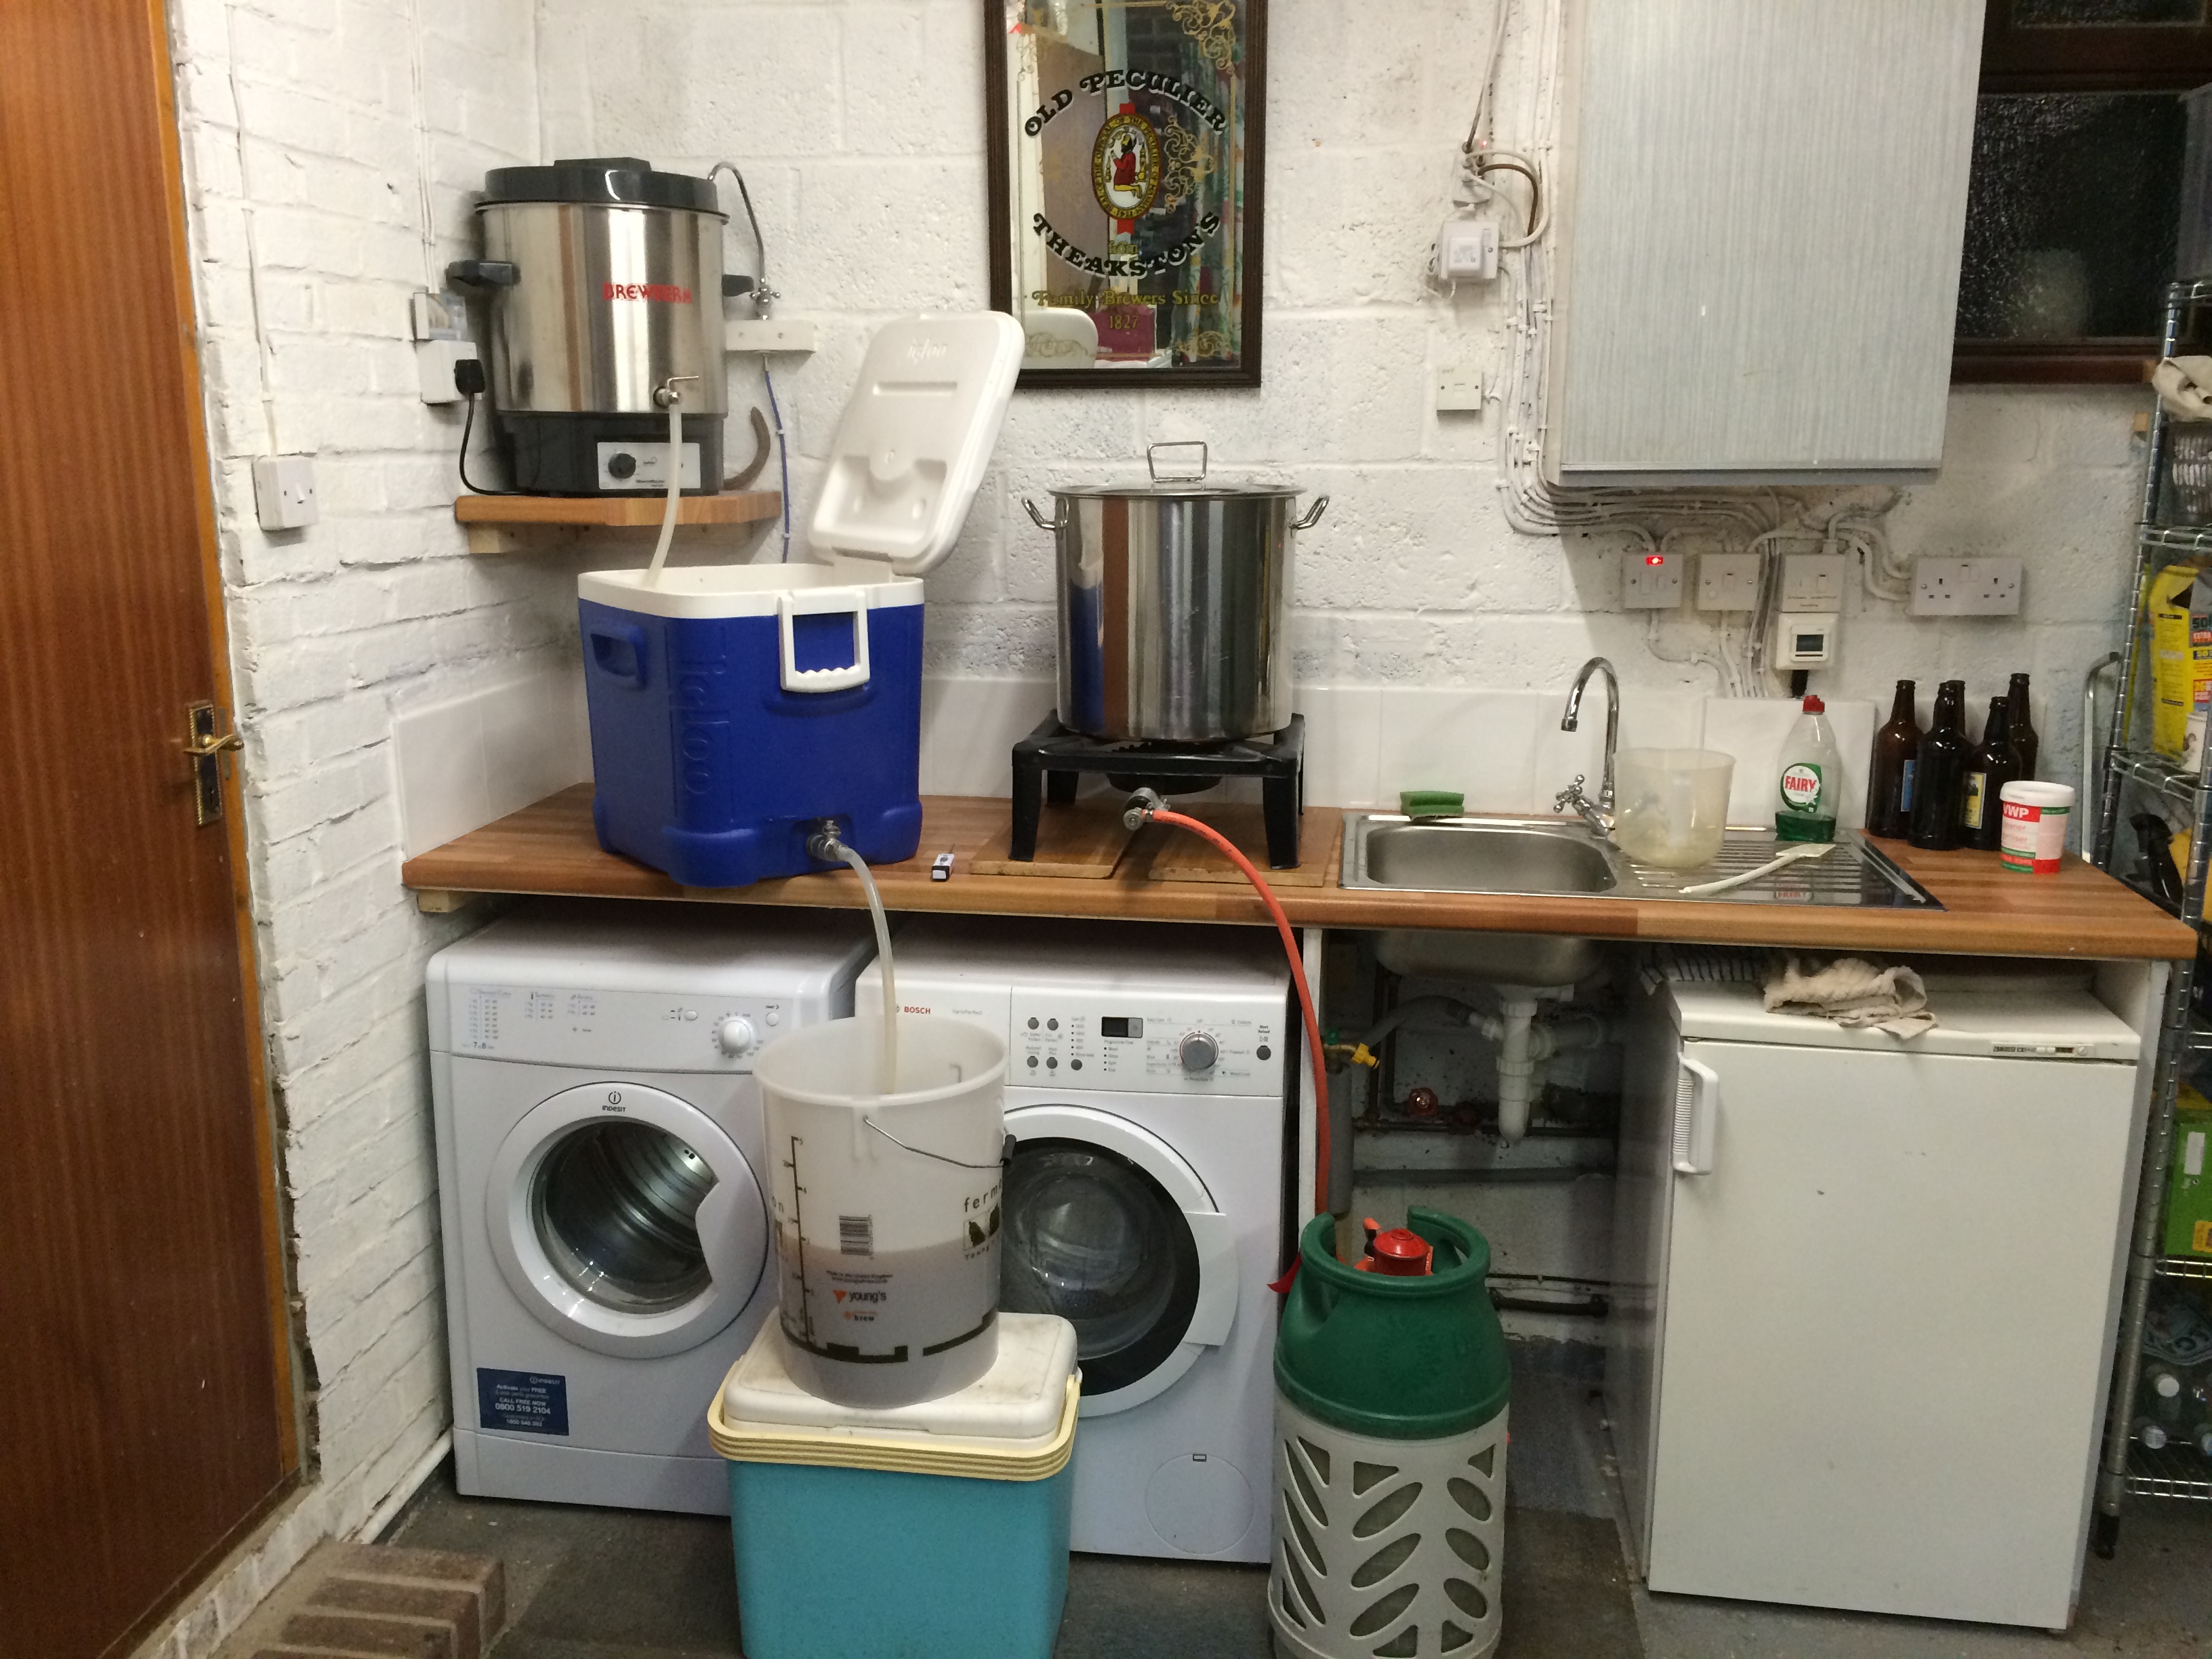
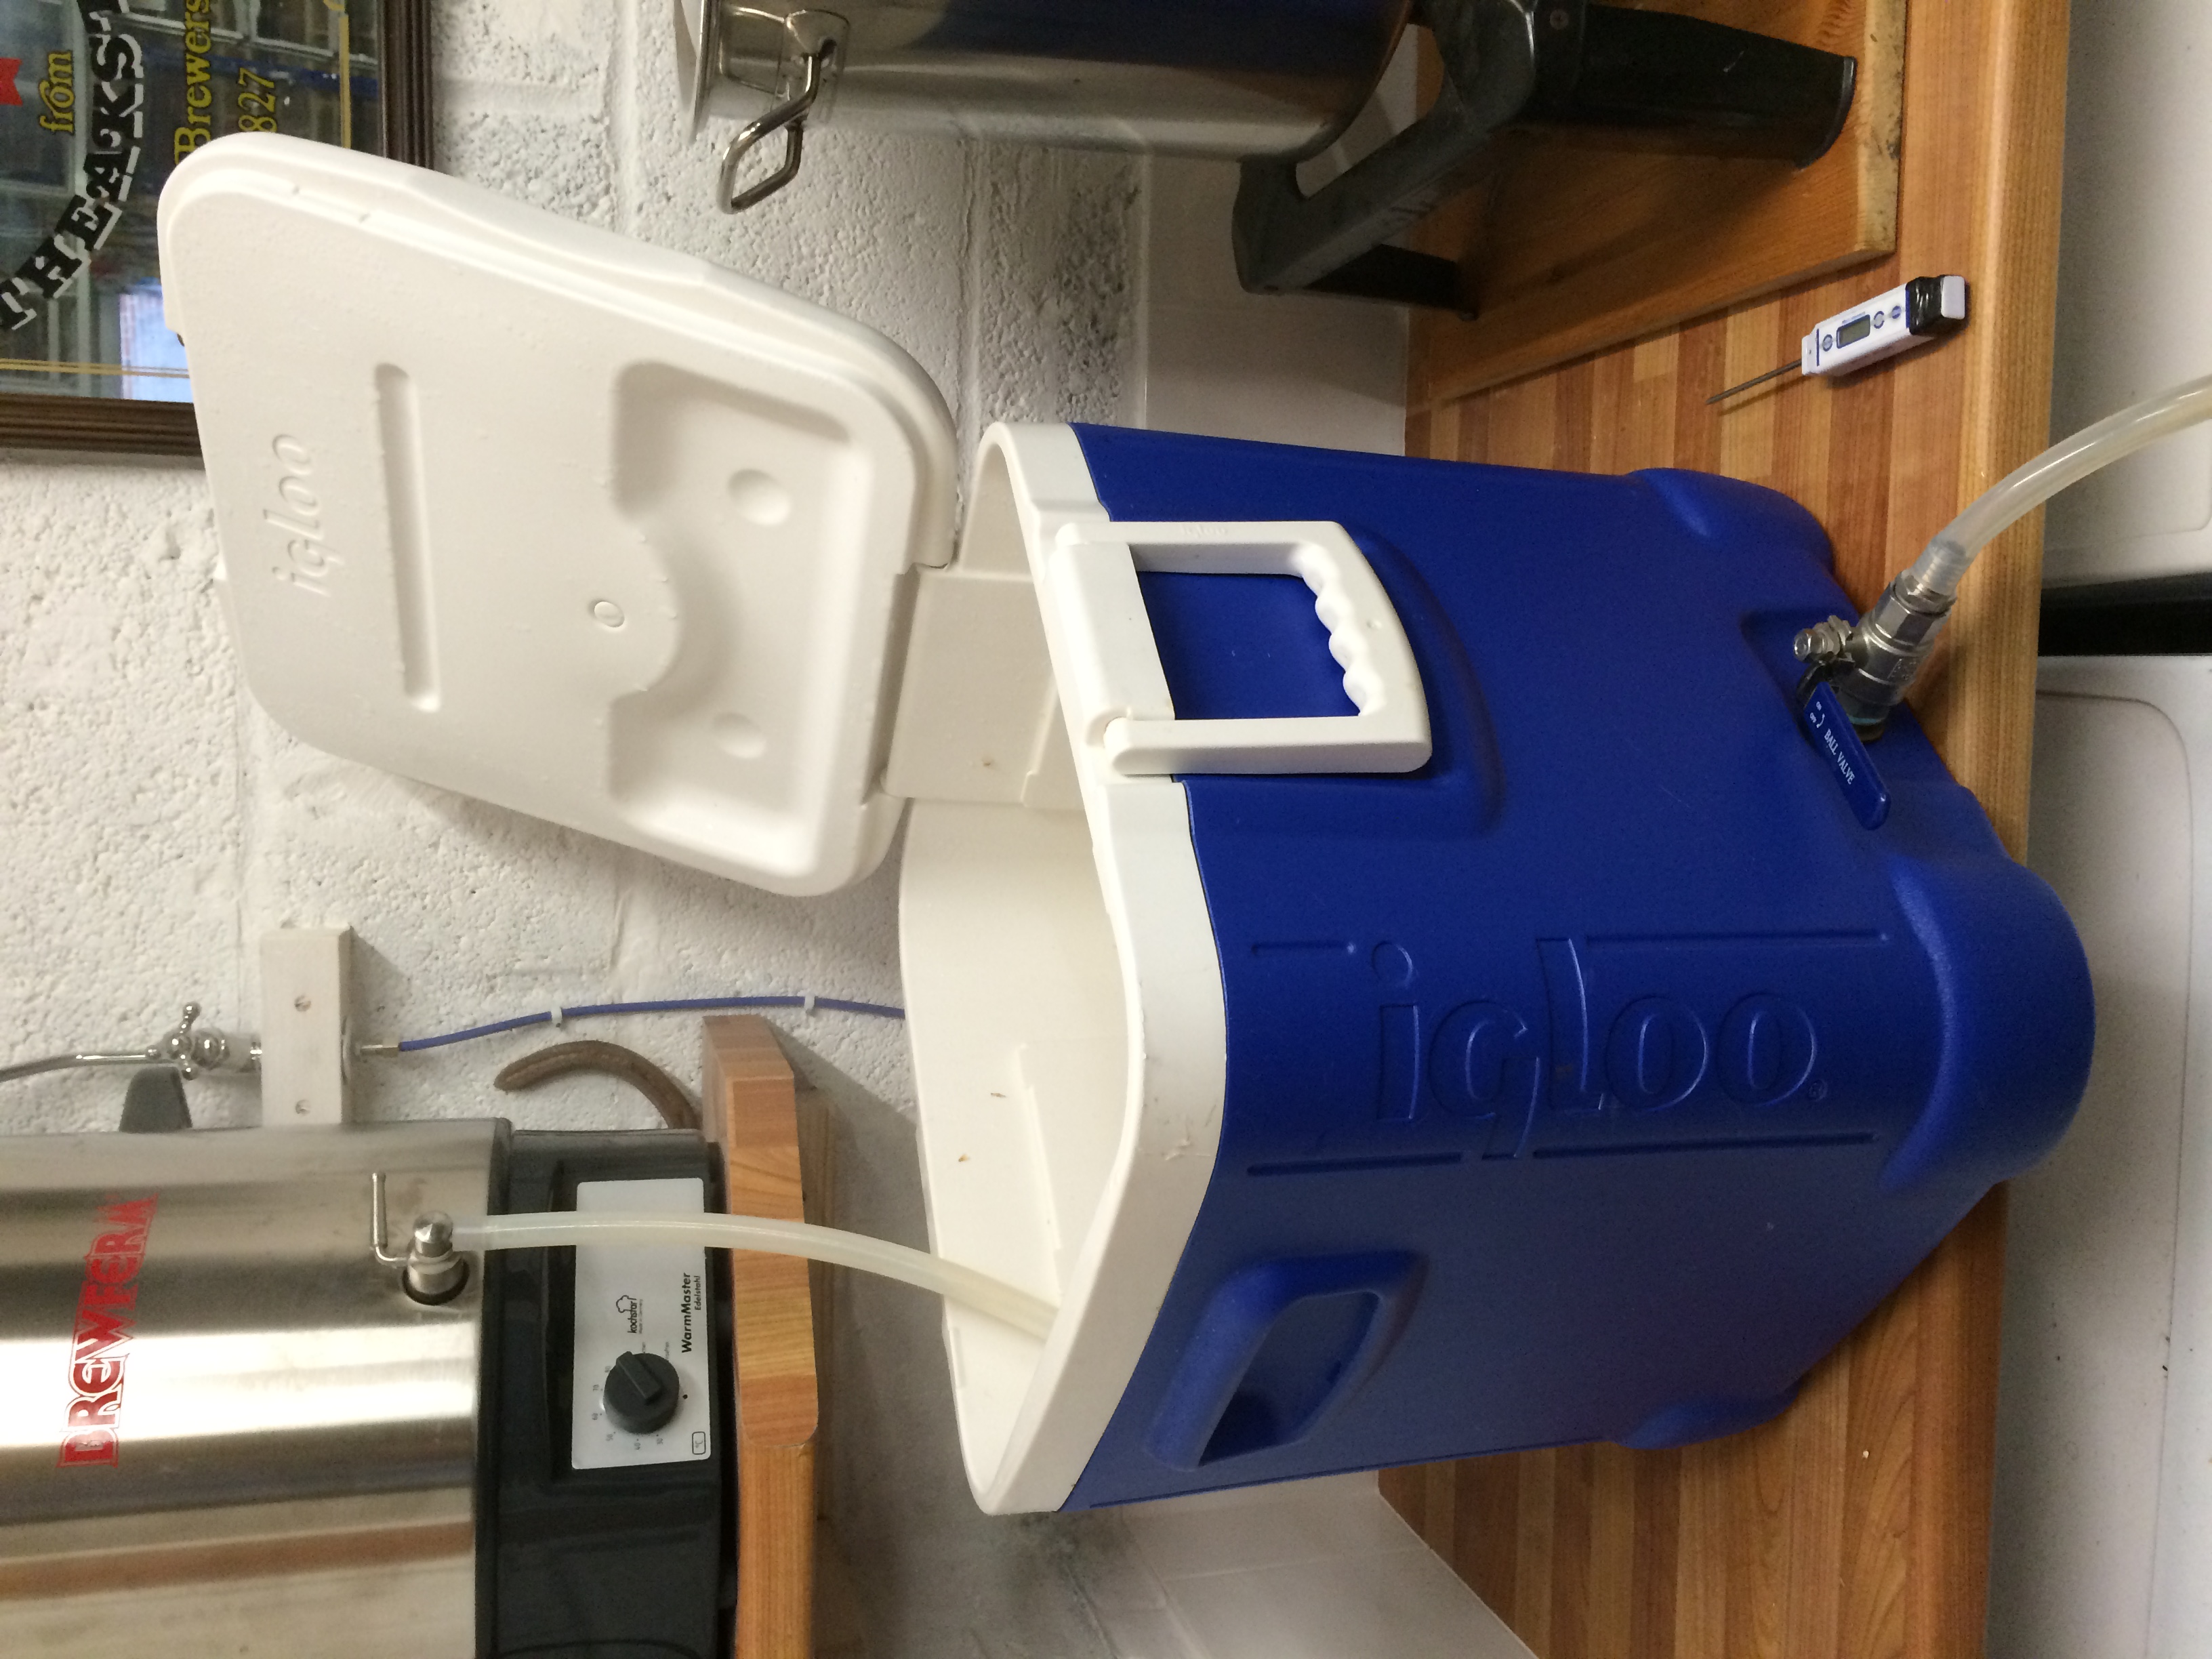
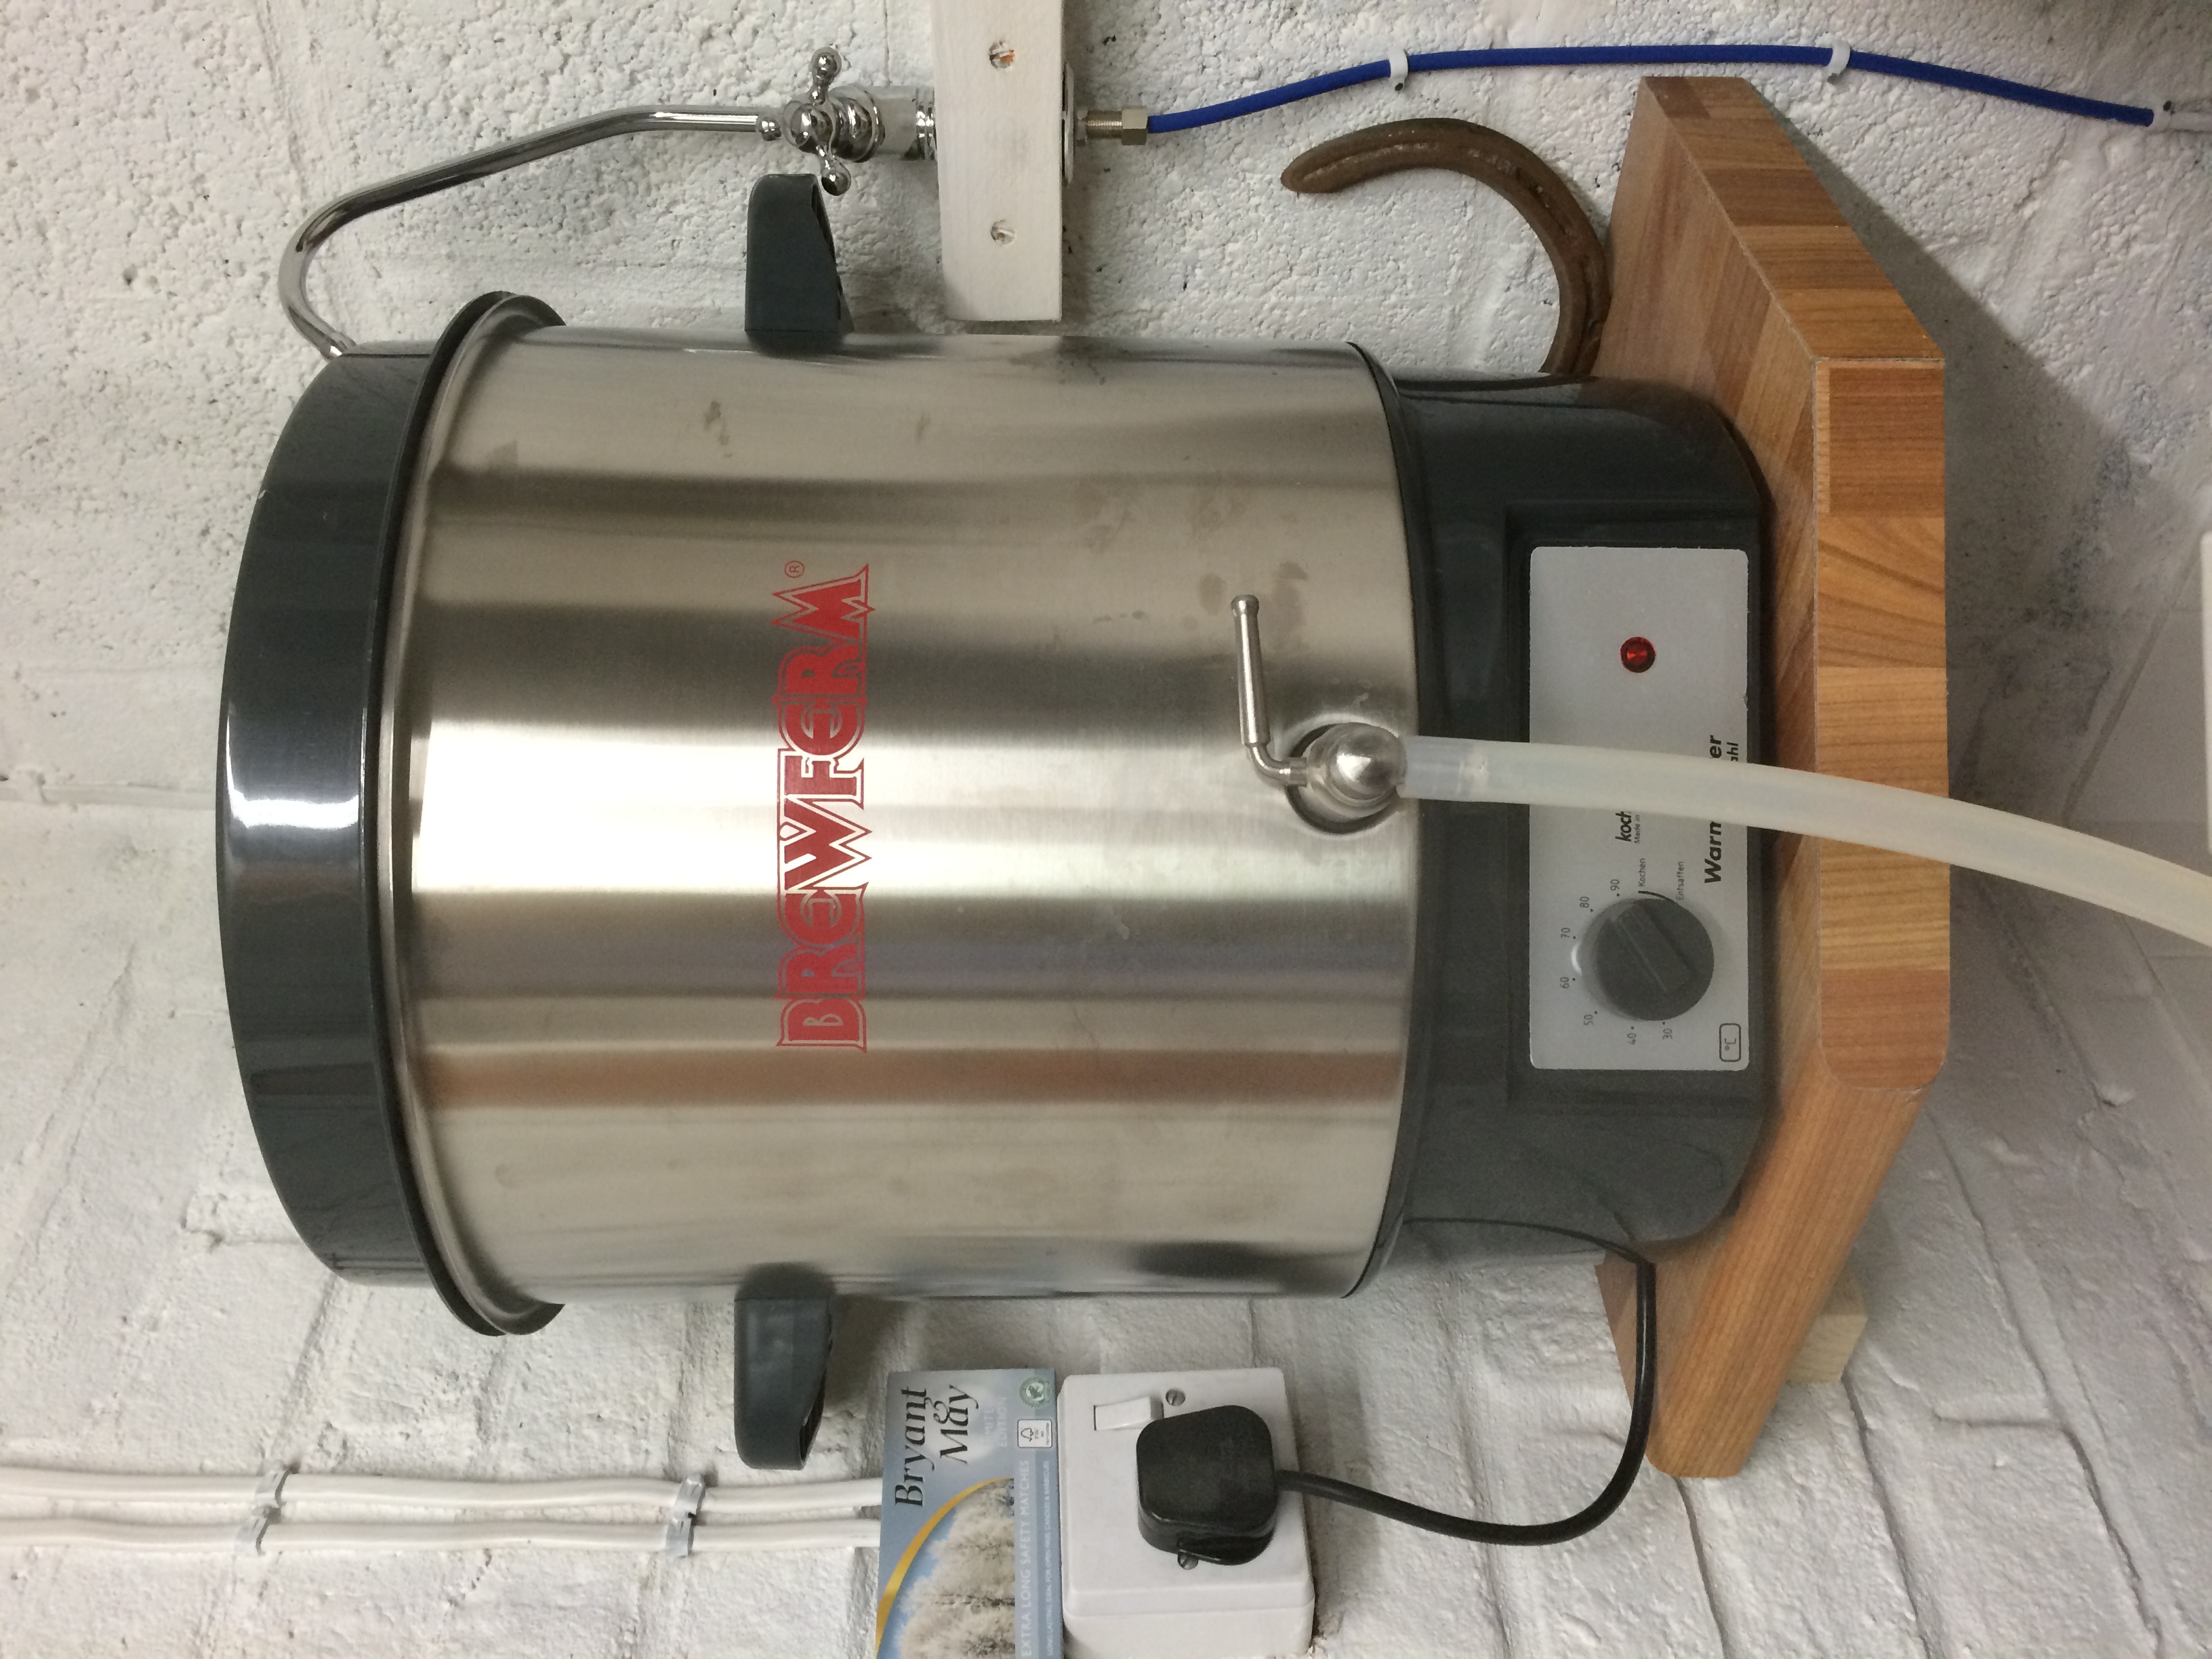
Top to bottom – on the shelf a Brewferm Boiler – a recent addition to give easier preparation and control of Brewing Liquor (hot water) temperature. Cost: £175. Underneath the square ‘Igloo’ mash tun with a false bottom. Cost £100. Under that a fermenting bucket (£15). Alongside the Mash Tun, a 33 litre stainless boil pot (£65) on a gas burner (£26).
You will notice the setup is in the garage. Just one brew in the kitchen and with the house smelling like a brewery, you will be relegated there in no time. So start there.
Things you can’t see. There’s a water filter in line with the feed to the Liquor vessel. There’s a tap under the sink with fittings to the copper pipe Wort Chiller (£50)
Phase 1 – The Preparation
To start you will need a recipe. T’internet is a free start place, and there are lost of good books. My favourite is Graham Wheelers ” Brew Your Own British Real Ale”. It’s full of recipes that are starting points for all types of British style beers, and there’s a suitably short set of instructions on how to brew.
Even more useful is Graham’s Beer Calculator, so called “Beer Engine”. It’s the simplest and most intuitive I’ve found, and it works!.
Of course, check you have/ buy all the ingredients needed for the brew, and then set aside the 5 hours needed for a full mash, boil, cool cycle.
Phase 2 – The Mash.
Water – unless you have a real extreme water type, just start by brewing with your tap water. If you have a water softener, then take it from the drinking water feed. I use a filter as well. Messing with the water composition is advanced, and most likely unnecessary. Fill your vessel of choice and put the water on the heat. You are looking for about 75C.
Cleanliness is important at this stage to avoid unwanted tastes – rather than infections, but I like to rinse out and lightly sterilize all the gear. So wash out the Tun, fit the false bottom, weigh out the Grain Bill and add it to the tun.
So, to the first ‘tricky’ bit. There’s a ton of chemical complexity surrounding the mashing process and the conversion of the Malted Barley into a wort of fermentable sugars. The ‘cut through the fog’ start point (and for many of us, the only point) is a single step mash. That means t you aim for a starting mash temperature of between 63 and 69C (lower for light bitters, higher for rich ales) and you just leave it.
With the temperature of your strike liquor at around 75, you should hit a Mash temperature of about 67. It depends a bit on the ambient temperature. If it’s a typical 20 litre batch, you be using about 8 litres of strike liquor. Add the first 6 litres, stir well, measure the temperature, and then fiddle the final two litres (using boiling and cold water as necessary) to end up in the right place. After a couple of times, you will know your set up and will go straight to the temperature you want.
Then leave it for your desired time. I use 90 minutes.
Meanwhile, recharge the boiler and heat the water to ~85C. Here’s where the expensive boiler pays. No over runs to boiling point when you are not watching.
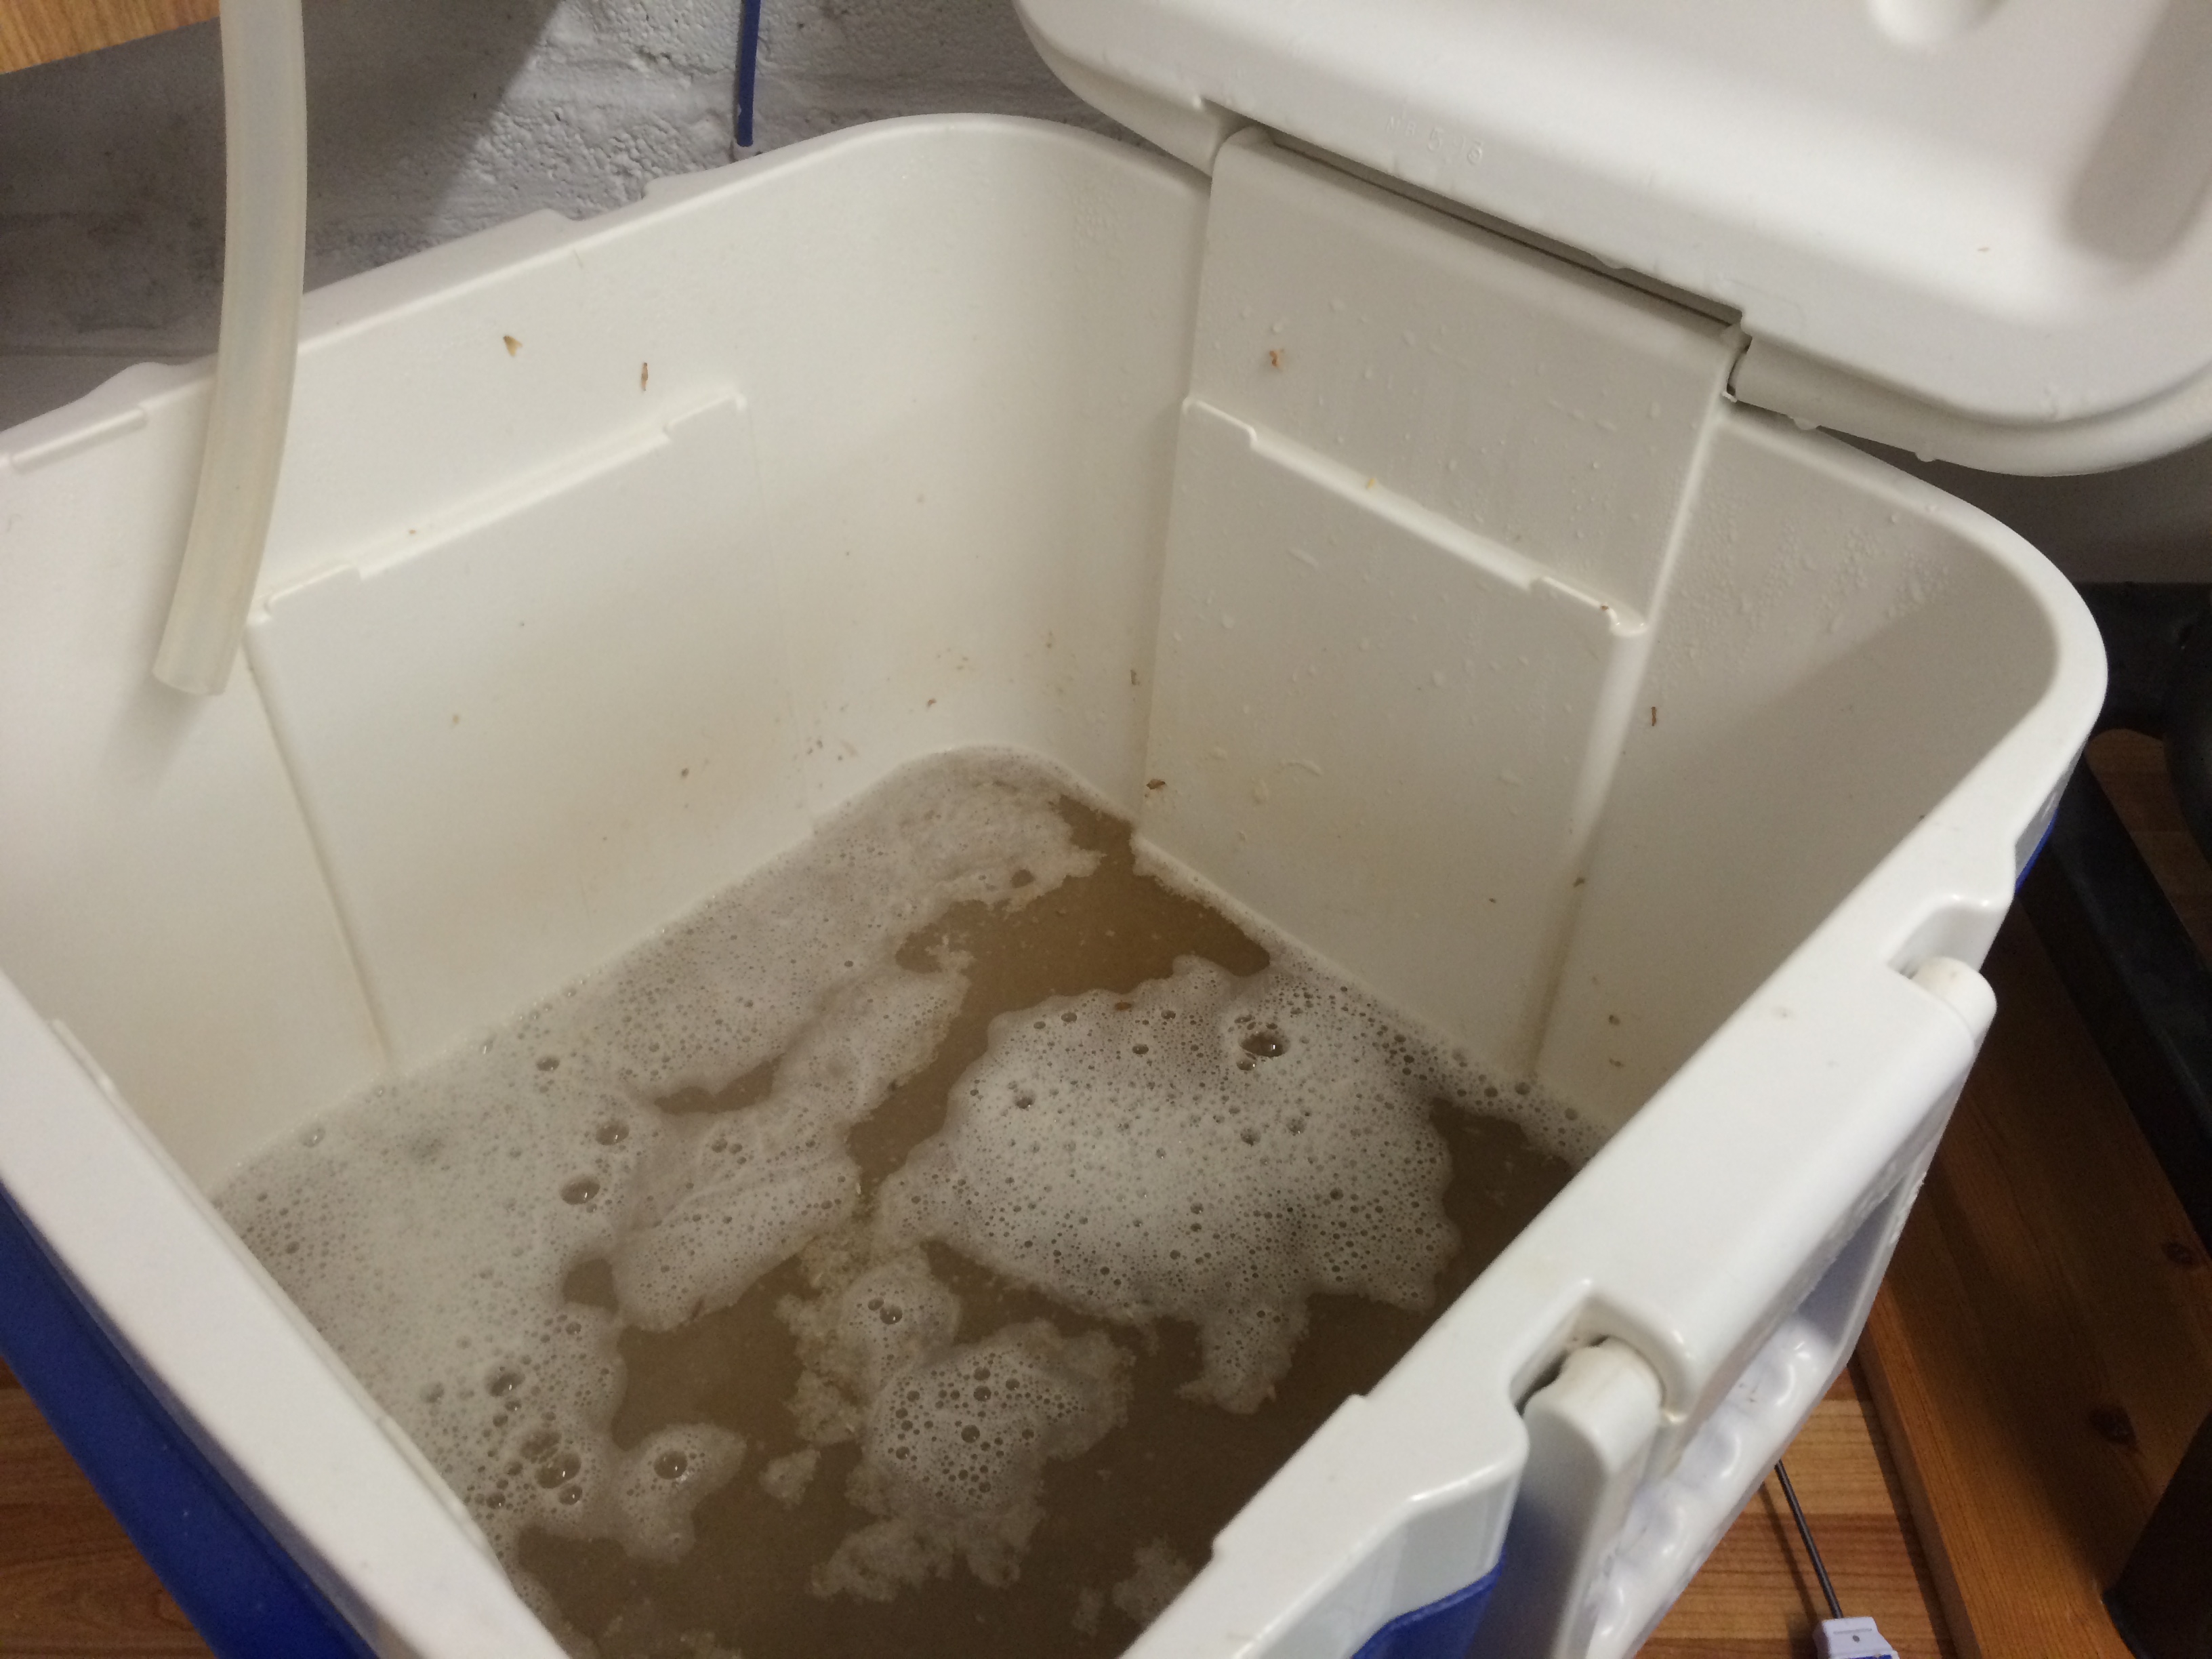
Phase 3 Lautering and Sparging
Again, much written about the process of draining off the wort from the mash and rinsing the grains of their valuable fermentable sugars. It’s almost religious. Commercial breweries use a continuous Sparging method – that is the sparge water is slowly trickled through the grain bed and the run off gathered in the boil pot.
I find that gives me a poorer mash ‘efficiency’ (ie a lower OG) than the following ‘batch’ method. I drain/rinse/drain in three steps:
a) The first run off from the mash
b) Add 8 litres of sparge water, stir, and leave 5 minutes, run off
c) Repeat b)
Prior to each drain you need to establish the grain bed by circulating the wort or Lautering. I do this by simply filling a 2 litre jug 3-4 times from the run off and adding it back into the Tun.
So you should now have 20 litres of wort.
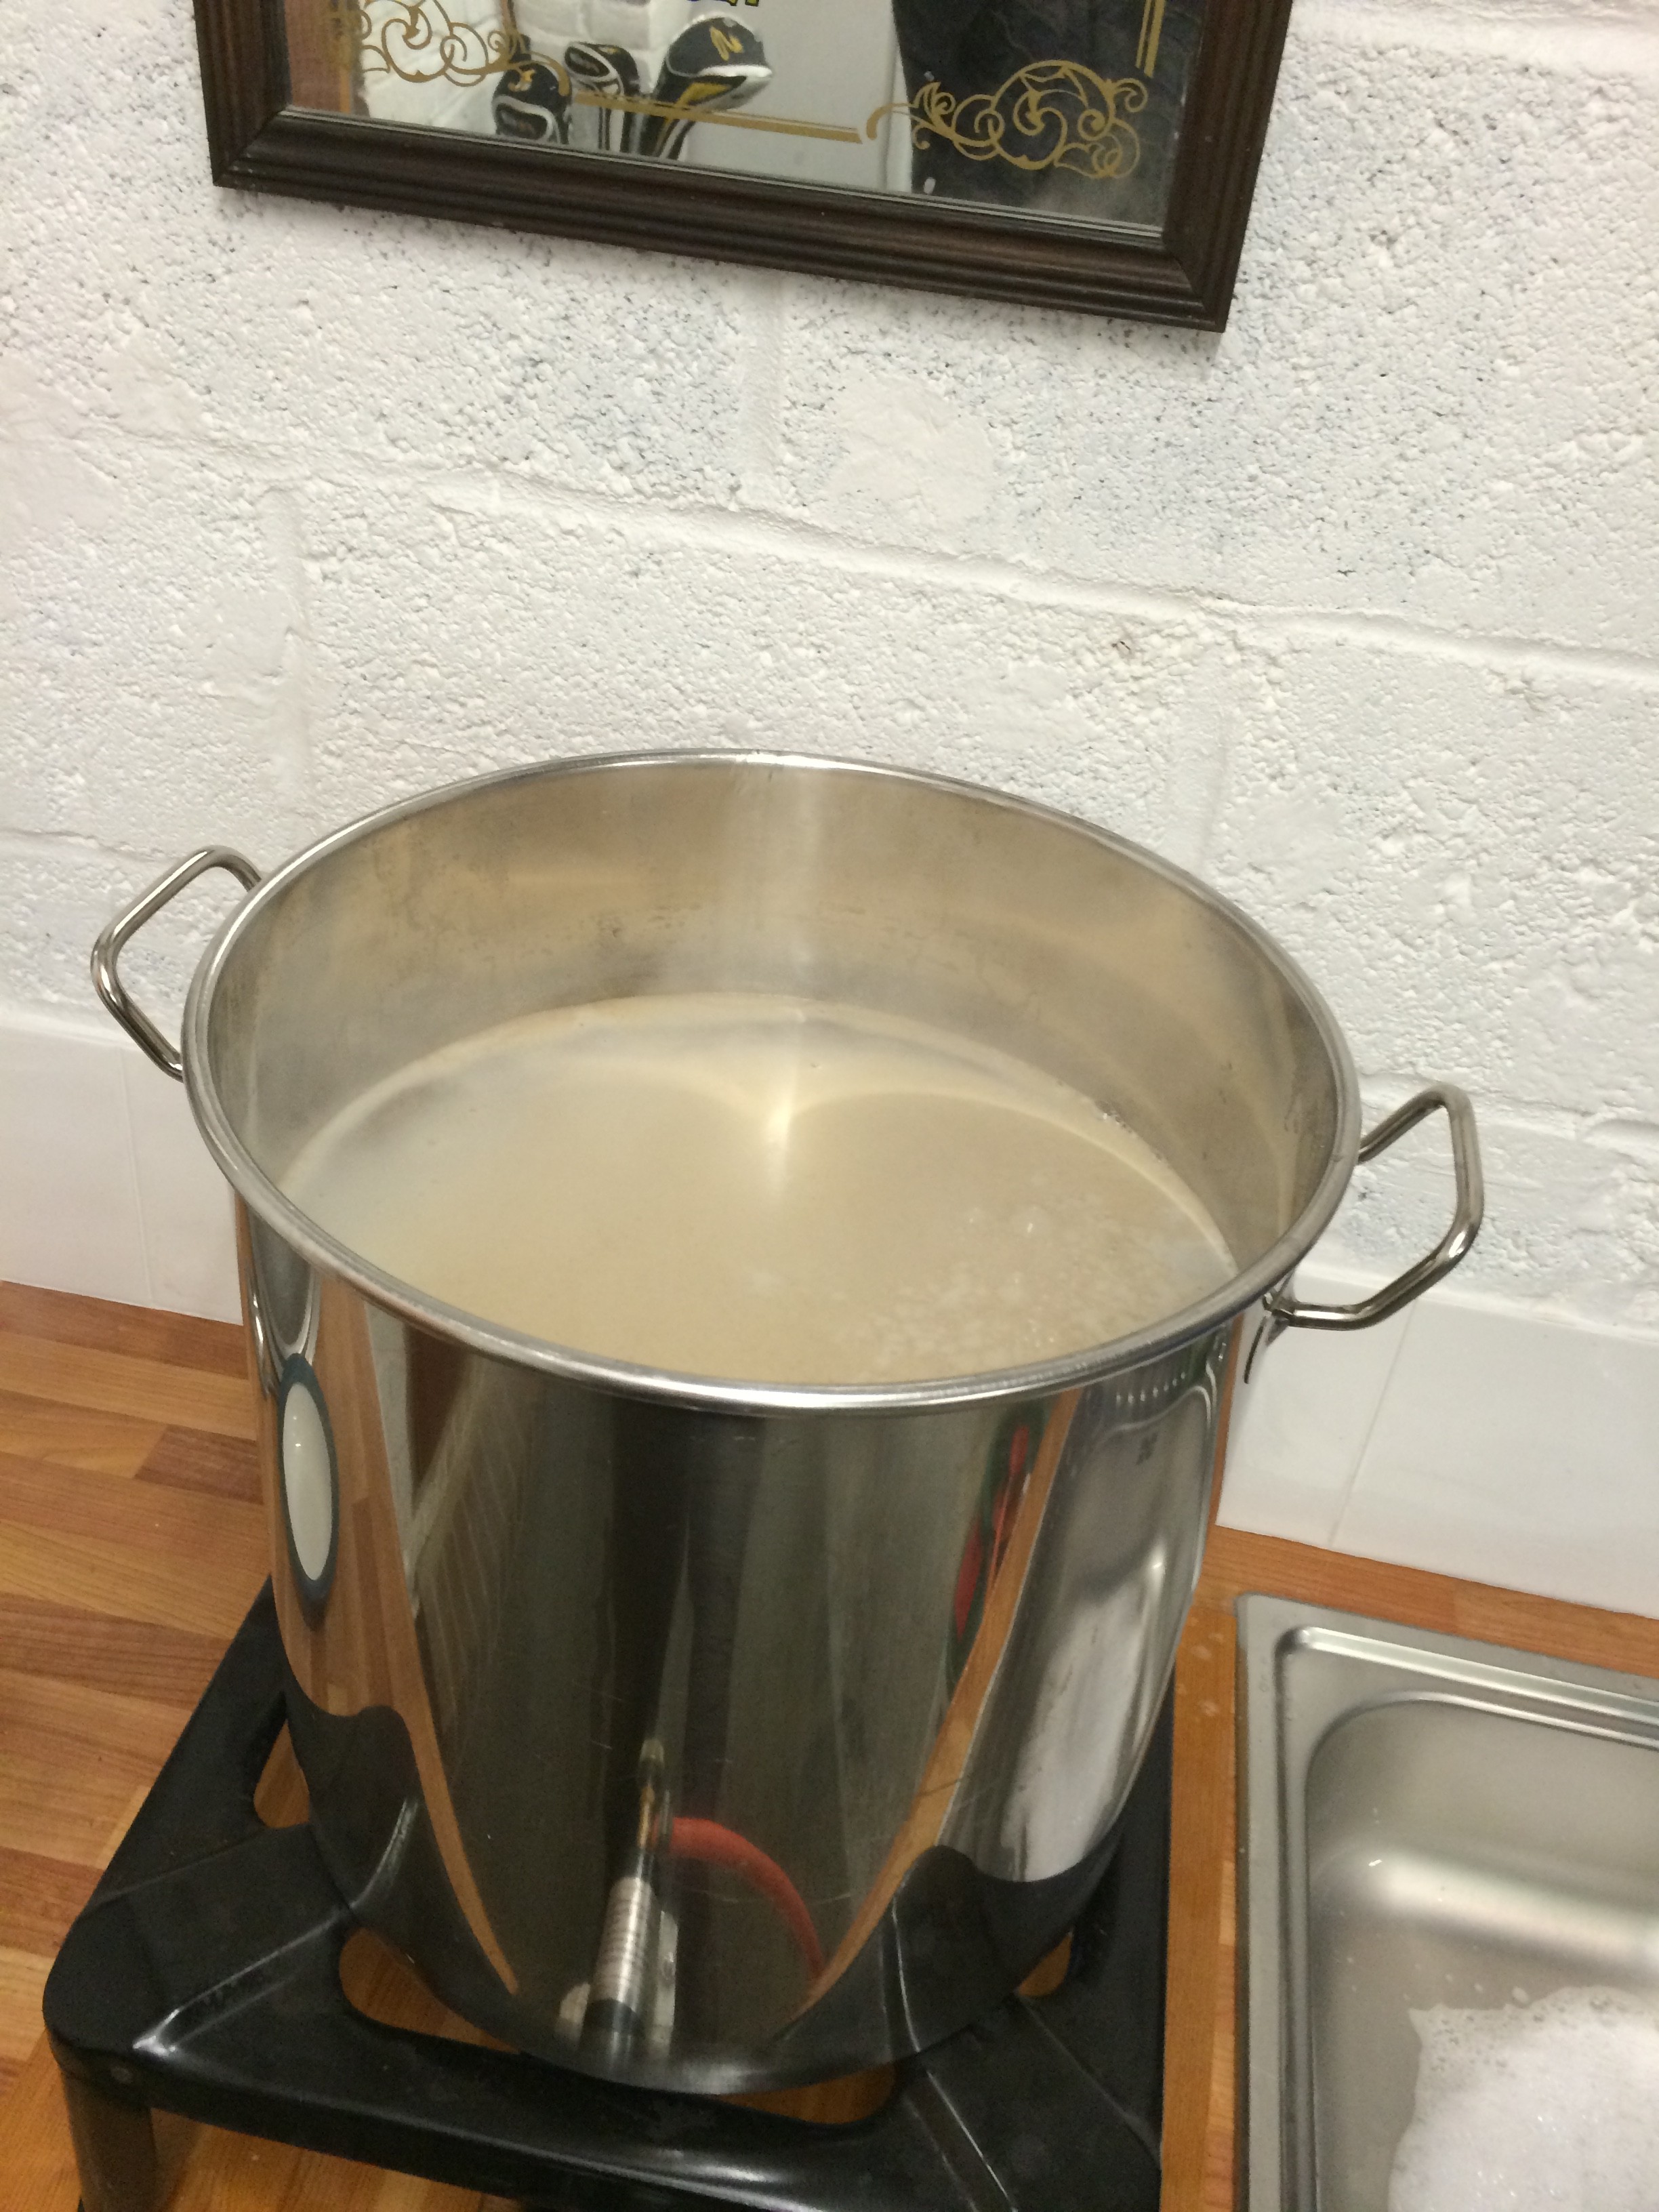
Phase 4 – The Boil
So there’s much discussion and debate about boil schedules and hop additions. Over the last year I’ve modified my schedule after reading somewhere that you should never boil hops for more than 60 minutes. The results are significant – no more ‘green’ flavours that take 2-3 months to mature out.
So heres what I do
- Bring to the boil, skim off any foam as it comes to the boil
- Boil for 15 minutes (That makes sure you get a clean ‘Hot Break’)
- Add First Hops, I use a hop Bag. Boil for 60 minutes
- Prepare Copper Finings and Yeast Nutrient addition. I use Irish moss, add hot water to it 10 mins before I need it.
- Remove First Hops
- Add Second hops. Add Finings & Yeast Nutrient
- Boil 15 minues
- Remove second Hops
Phase 5 Cooling
With the boil over, now you want to cool it quickly.
- Allow to cool/stand a few minutes (basically while you remove hop bag and rig up the cooler)
- Place cooler into to the copper. Run for 15-20 minutes
- Remove cooler
- Syphon the wort into the fermenting bin
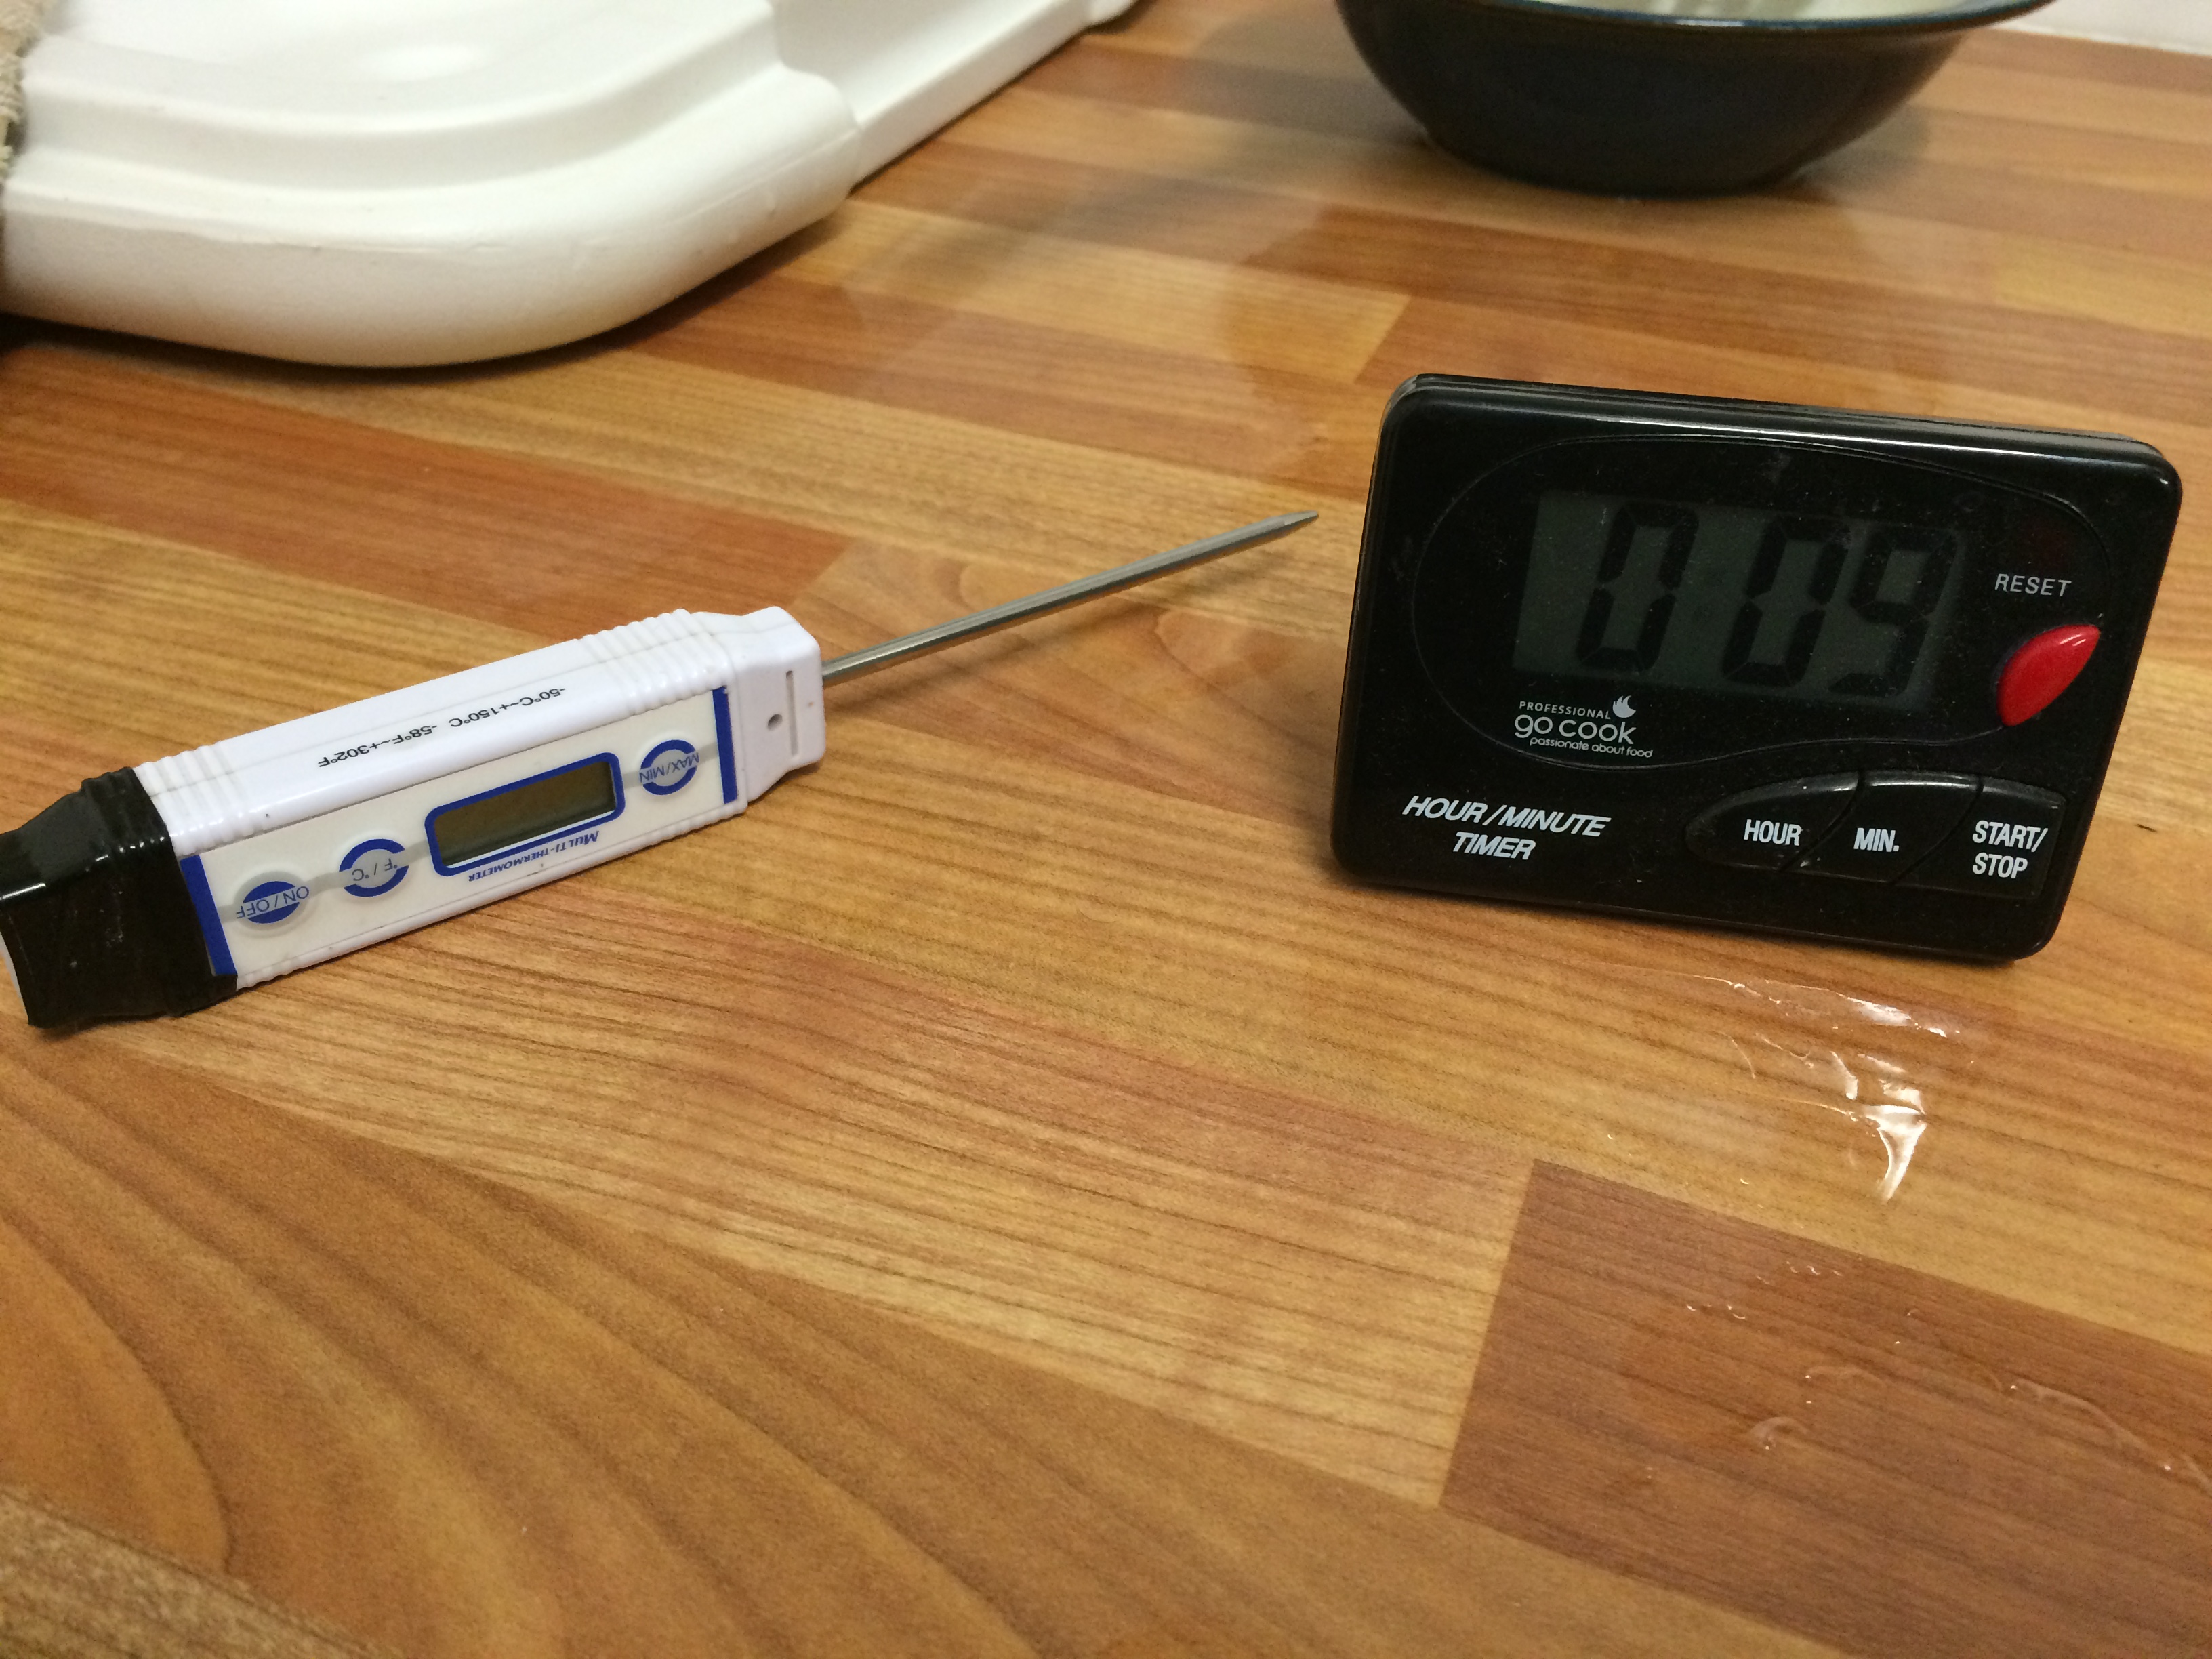
- Measure the original gravity
Phase 6 Yeast and Fermentation
Aerate the wort. Simply pour it between the copper and the fermenting bin 2-3 times to introduce as much oxygen to the wort as possible.
Then add your yeast of choice. There’s a whole dissertation to be written on yeast. I use the Wyyeast ‘wet’ yeasts, and reuse for about 8 generations. That’s a lot of brews.
You will get a very dirty Krausen over the first two days of the ferment. Just skim it off with a (sterilised) slotted spoon and discard.
Lots of debate about stirring. The Americans all sing the Beetles at this point ‘Let it Be’, but that’s bollocks if you are using a Northern (English) yeast like 1469. Stir it twice a day during the first 5 days – after which the fermentation will slow right down as it heads to its finishing gravity, so stop stirring it and leave it to settle out.
Bottle/Barrel as is your personal choice
Happy Brewing
BTW – Jims Beer Kit is a good site with simple instructions.